
Mortars: setup
Beitrag von Nox
Mortars let you hit the enemy without ever seeing them. A good mortar team holds off attacks, destroys vehicles and radios, and makes whole areas of the map dangerous for the enemy.
- High impact
- Can hold off enemy advances
- Suppresses enemy positions
- Destroys vehicles
- Destroys structures
- Expensive to run
- High impact makes you a high-priority target
- Easy to spot by sound and sight
- Depends heavily on where you set up
SquadCalc: you need it
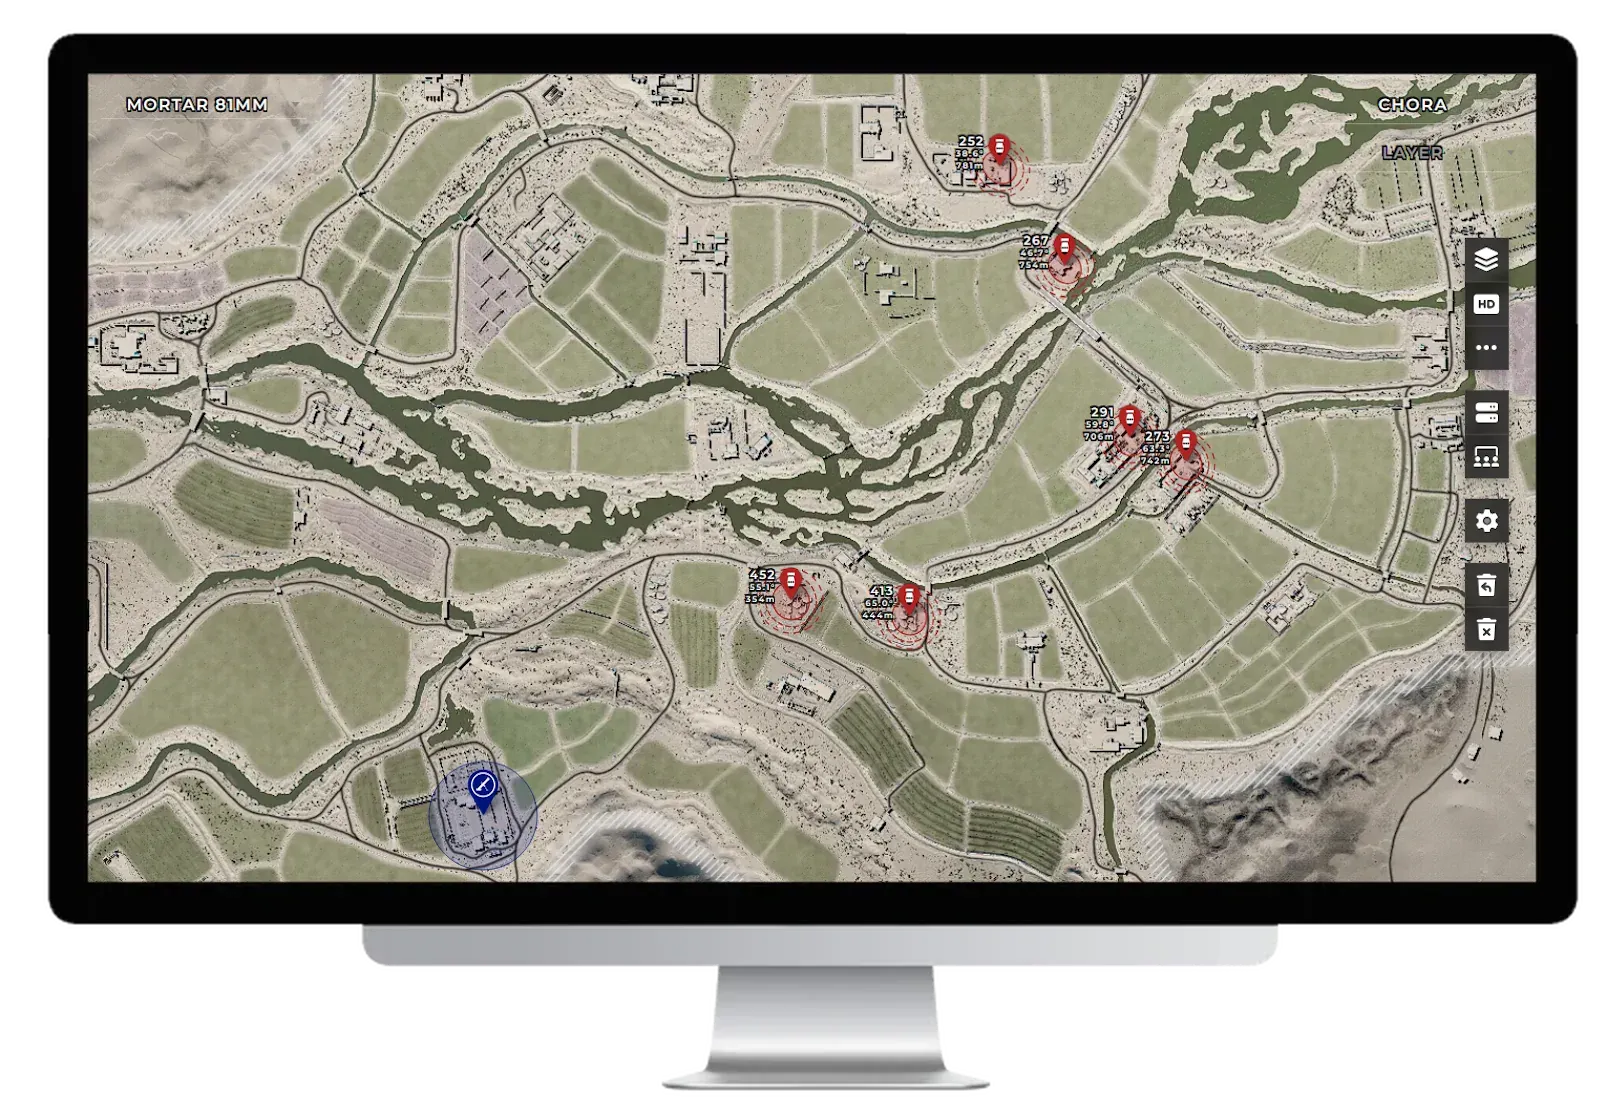
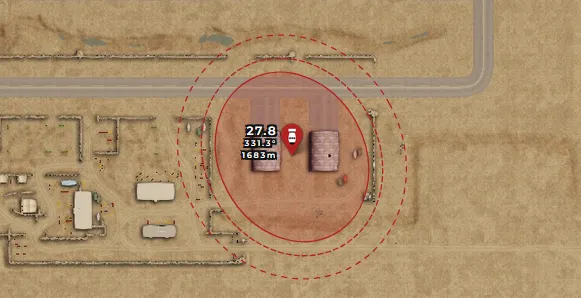
Section titled “SquadCalc: you need it”squadcalc.app is the mortar calculator and map overlay everyone uses, and you should treat it as mandatory. The in-game map and SL markers can easily put your rounds 40 m off target; SquadCalc gives you the exact elevation for every shot.
Finding a spot
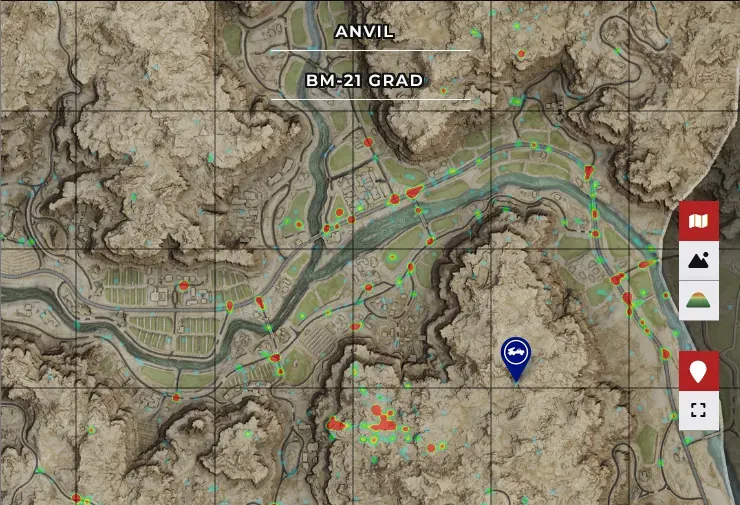
Section titled “Finding a spot”Turn on Frequent locations to see a heatmap of where other players set up their mortars on each map. It helps you find a good spot, and tells you where enemy mortars are likely to be.
Working as a team
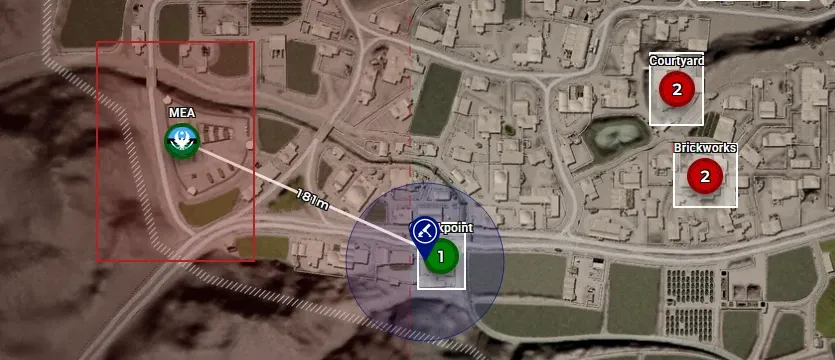
Section titled “Working as a team”Start a shared session and send the link to your mortar crew and spotters. Everyone sees the same targets, so the SL or a fireteam leader can place a target and the mortars fire on it straight away.
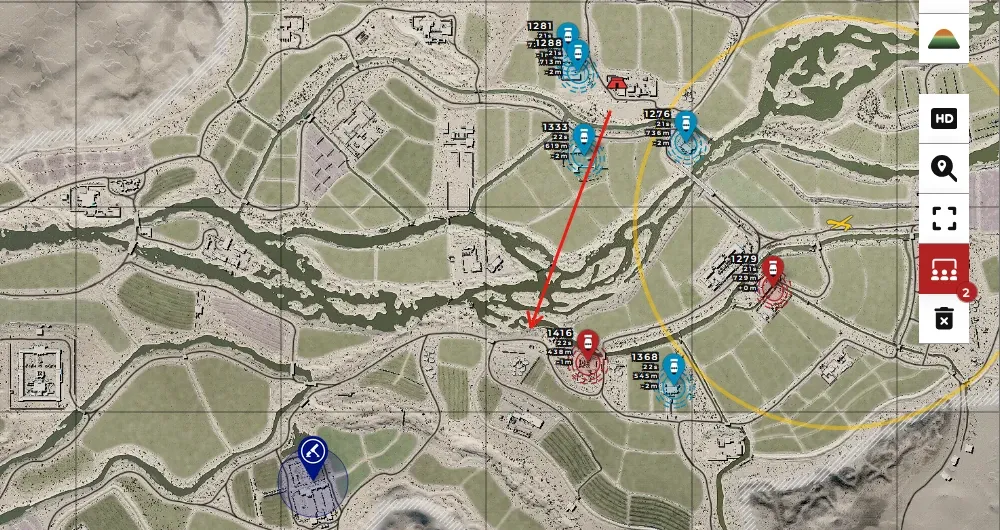
SquadCalc is a free community tool by sharkman (GitHub). Screenshots from the SquadCalc project.
Who you need
Section titled “Who you need”Many servers require a dedicated mortar squad of exactly 3, with no specialist kits. You can also run mortars as part of a bigger infantry squad, which lets you bring these kits:
Positioning
Section titled “Positioning”The FOB
Section titled “The FOB”- Check your range to the areas you need to hit before you build.
- Think about supply routes. How will you and your team get supplies into the FOB radius?
- Spread out inside the build radius. It makes counter-fire less effective and delays the enemy finding your radio.
- A defensive FOB works too. The more friendlies around you, the harder you are to dislodge.
The mortars
Section titled “The mortars”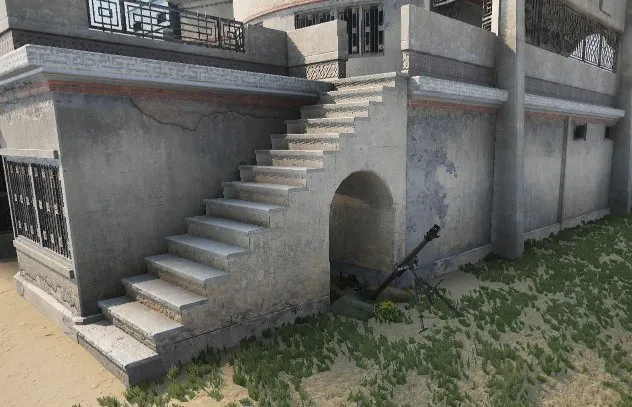
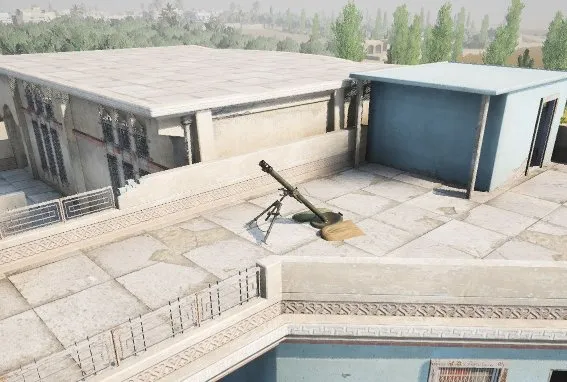
- Use walls and fences to protect yourself from direct fire
- Check nothing blocks your firing arc: trees, buildings and so on
- Build on roofs. Height doesn’t help, and it makes you easy to hit with grenade launchers, vehicles or enemy mortars
- Build too close to a friendly HAB. Counter-fire aimed at you will hit both
Relocating
Section titled “Relocating”Under pressure, you may need to take the FOB down yourself. It’s better than losing 20 tickets to a radio that bleeds out.
It’s a judgement call: how sure are you that you (or your team) can defend it? Was it one enemy, or a whole squad?
Rallies and HABs
Section titled “Rallies and HABs”- Rallies are an early-warning system. When an enemy comes within 30 m of your rally, it burns. If you’re close, you’ll hear the difference: the static stops.
- Place the rally near your mortars or your radio to find out about raiders early.
- Replace it as soon as possible after dealing with the enemy.
- On a dedicated mortar FOB, build a HAB for faster respawns and more security. You may still be able to spawn on it if your rally burns, but a large attack can still proxy it.
Logistics
Section titled “Logistics”| Item | Cost |
|---|---|
| HAB | 500 |
| Ammo box | 100 |
| Mortar (usually 2 per FOB) | 300 each |
| Insurgent mortar / hellcannon | 200 each |
| Repair station | 500 + repairs |
| Minimum total | 1200 |
| Round | Cost |
|---|---|
| HE | 40 |
| Smoke | 25 |
| Hellcannon | 150 |
A reload always costs the same, even if you only fired one round.