
Mortars: firing
Reading the HUD
Section titled “Reading the HUD”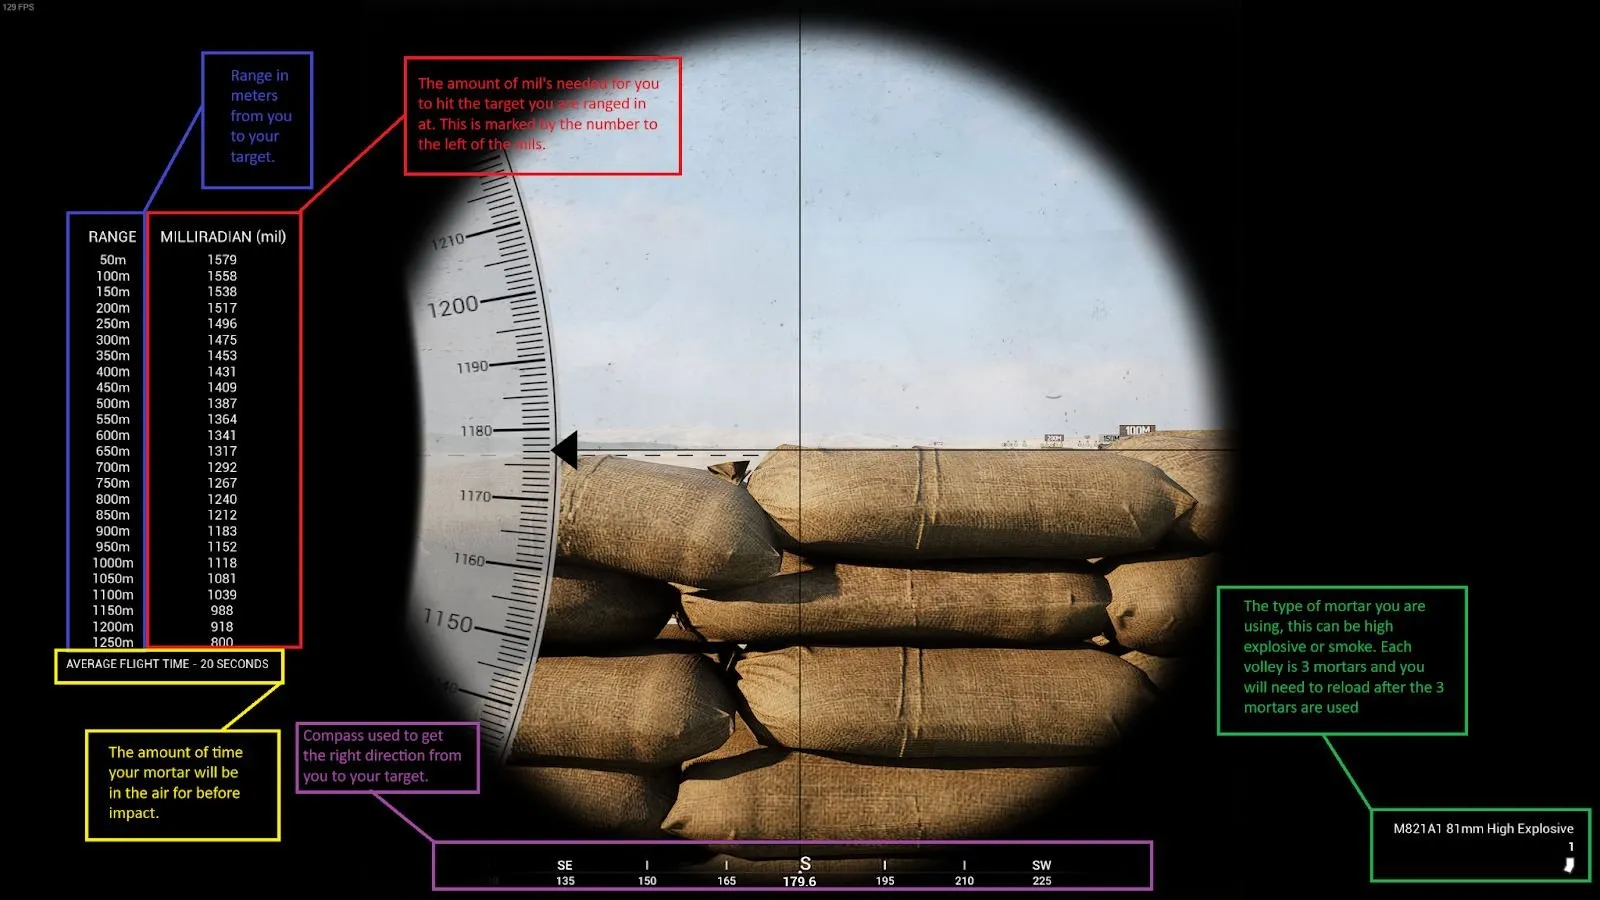
Height changes your minimum and maximum range. A mortar calculator handles this for you.
Mortar calculators
Section titled “Mortar calculators”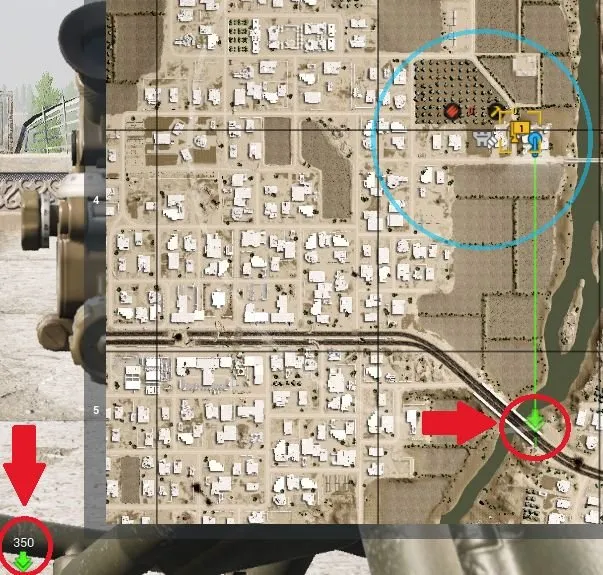
Why use one?
-
SL range marks get less accurate the further they are from you.
-
You’re less dependent on an SL marking things for you.
-
Faster than estimating from the HUD.
-
More precise, as long as you set it up correctly.
Dedicated mortar calculator. Can connect to the server you’re on and load the layer for you. Can slow down with many targets placed.
Mainly for viewing layer directions, but has a working (simpler) mortar calculator.
Barebones and less user-friendly, but lets you place many mortars and shows how each mil or degree moves your rounds.
HE vs smoke
Section titled “HE vs smoke”- Suppress and damage enemy HABs
- Kill infantry in strong, static positions
- Destroy vehicles: crews repairing tracked vehicles, abandoned or contested vehicles, vehicles on a repair station
- Destroy radios, or stop the enemy recovering one
- Takes space by blocking lines of sight
- Can pin enemies in place, screen a push across open ground, or cover friendly vehicles being repaired
- Double-edged: placed wrong, the enemy uses it too
Target priority
Section titled “Target priority”Think in tickets.
- 1Radio in the open20 tickets, and removes a whole enemy threat from the map.
- 2Enemy emplacementsMortars and TOWs: little ticket gain, but they stop big losses, especially vehicles. If you can hit their mortars, they can hit you: first on target wins.
- 3Enemy HABsFarm them for kills and keep the enemy off the map.
- 4Stationary vehiclesTanks 15 tickets, IFVs 5–10, logi trucks 5 (and they cut the enemy’s supplies).
Markers and targets
Section titled “Markers and targets”- The common public-game marker for mortars is “Fire Mission”.
- Fireteam leaders can mark targets as well as squad leaders.
- You don’t need to wait to be asked. See a target, confirm your accuracy, and fire. Warn other squads if they’re about to push into your fire.
- When you’re not on the mortars, mark as accurately as you can. A few metres of marker error becomes a miss.
Competitive players often use boat marks, and sometimes helicopter marks, as their mortar marker setup. See Map markers.
Advanced techniques
Section titled “Advanced techniques”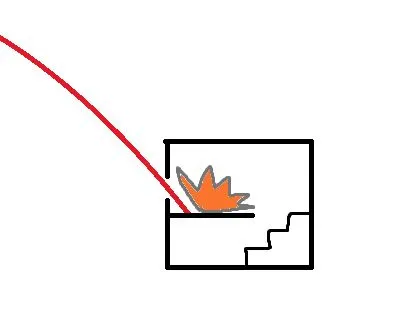
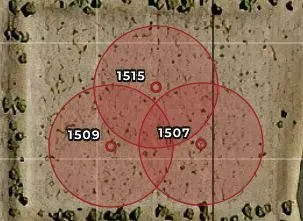
- Spread shots against infantry. Mortars have natural spread, and the first close round always makes people move. Spreading your shots creates a bigger danger zone.
- Don’t overstay on infantry. Fire one or two volleys at infantry, then switch targets.
- Come back later. After two or three volleys elsewhere, return: the enemy will think it’s safe and start reviving or rebuilding. Punish that.