Clearing buildings & stairwells
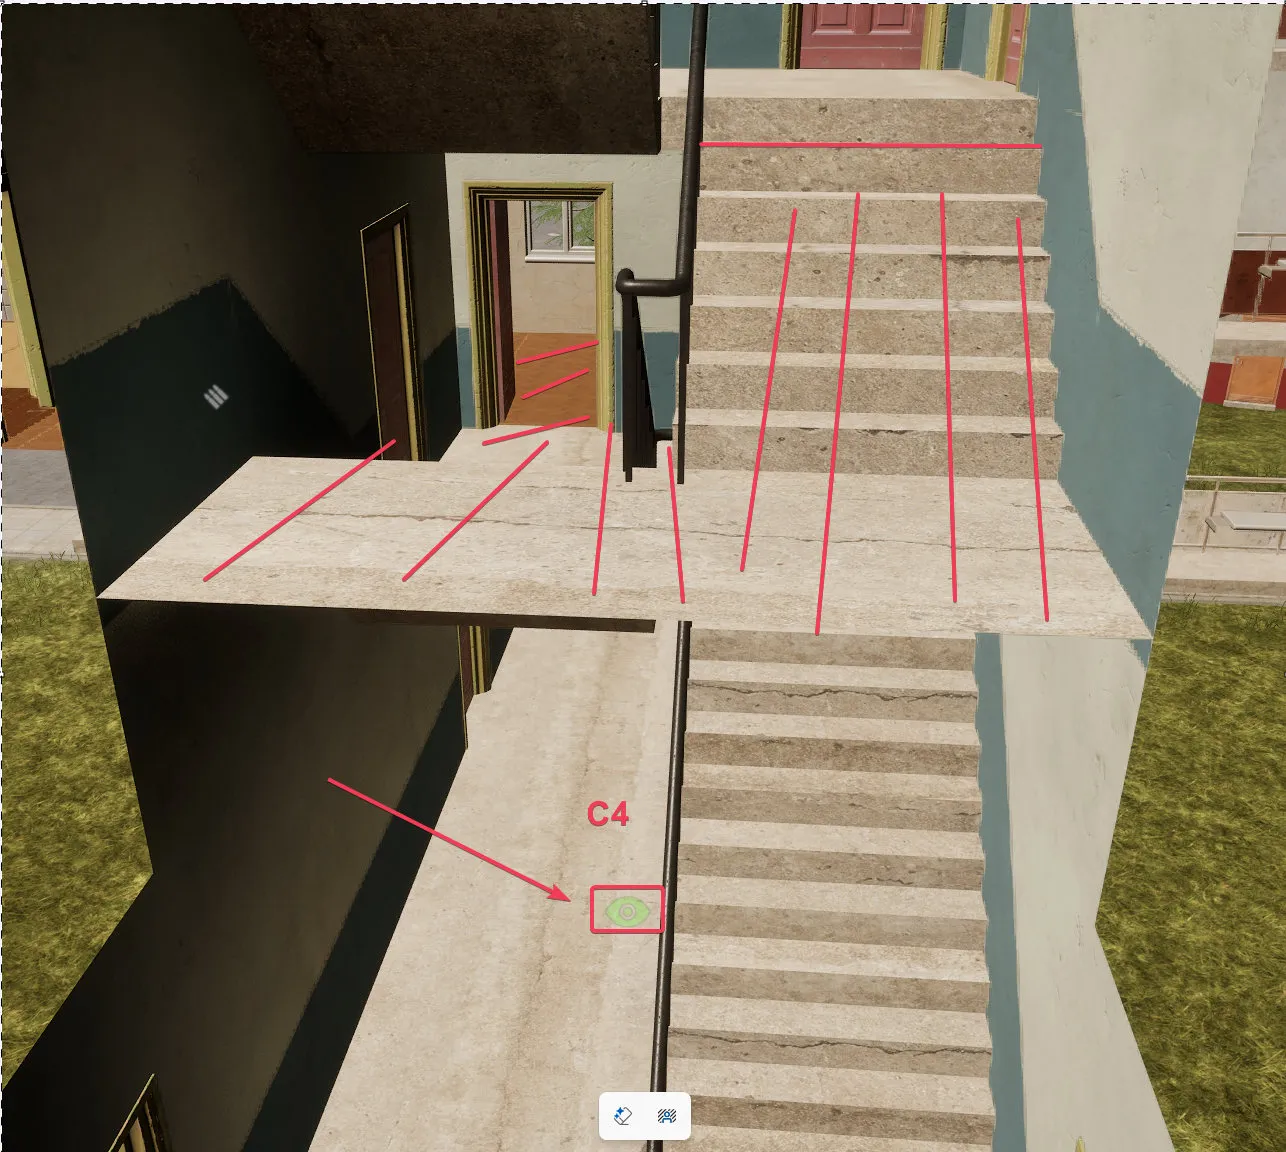
Stairwells are some of the hardest positions in Squad to push: defenders hold the top, and grenades are easy to throw down but hard to throw up. C4 turns that around. One charge on the ground floor can clear the flights above it without anyone walking into the chokepoint.
Using C4 to clear stairwells
Section titled “Using C4 to clear stairwells”7 m
C4 kill radius
2
Flights of stairs cleared in a normal building
~2 m
Blast is measured to the feet, below eye level
Side view, roughly to scale. The blast is measured to the target's feet, about 2 m below eye level, so players standing on the flights above are inside the radius.
- C4 kills anyone within 7 m.
- Checked by observing through the floor: the hitbox the blast checks appears to be at the feet, about 2 m below eye level. That is why it reaches players standing on the stairs above.
- In normal buildings, that’s enough to clear two flights of stairs.
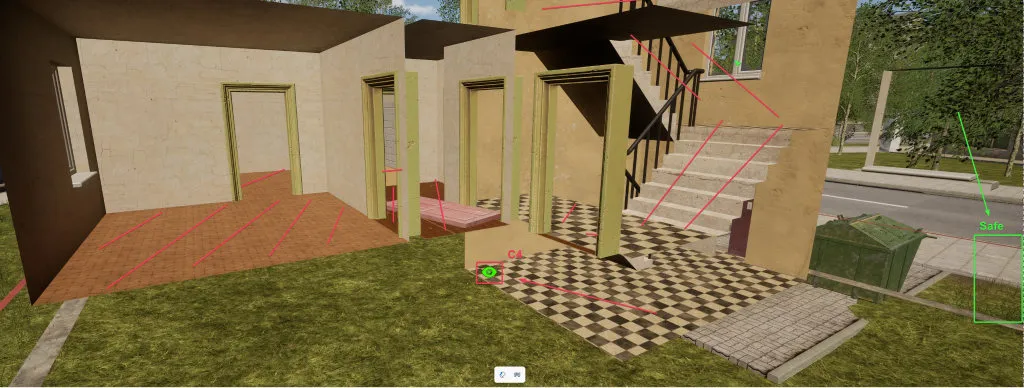
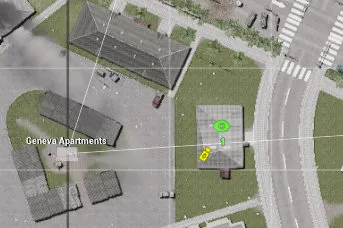
Example: Geneva east building
Section titled “Example: Geneva east building”A typical two-storey building with an external staircase. C4 placed at the marked spot on the ground floor clears the rooms and the stairs marked in red. The green box outside is safe.
Example: tower south of Geneva
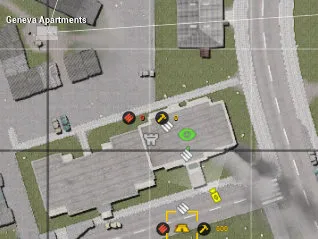
Section titled “Example: tower south of Geneva”In the tall tower block, a charge on the landing clears the flight above and the landing and doorway on the next floor.