
Mortars: setup
Mortars let you hit the enemy without ever seeing them. A good mortar team holds off attacks, destroys vehicles and radios, and makes whole areas of the map dangerous for the enemy.
✓Strengths
- High impact
- Can hold off enemy advances
- Suppresses enemy positions
- Destroys vehicles
- Destroys structures
✕Weaknesses
- Expensive to run
- High impact makes you a high-priority target
- Easy to spot by sound and sight
- Depends heavily on where you set up
Who you need
Section titled “Who you need”Many servers require a dedicated mortar squad of exactly 3, with no specialist kits. You can also run mortars as part of a bigger infantry squad, which lets you bring these kits:
Squad Leader
Rallies, and talking to squads out in the field. Assign fireteam leaders so they can mark targets too.
LAT
Lets you answer a vehicle attack on your position quickly.
Medic
Helps you recover from raids and counter-fire.
Logi driver
Any kit. You can’t always rely on the rest of the team to supply you.
Spotter
Optional. Not needed for skilled mortar players.
Mortar crew
The players actually on the tubes.
Positioning
Section titled “Positioning”The FOB
Section titled “The FOB”1250 m
Effective mortar range. Make sure you can reach your targets
20
Tickets lost if your radio bleeds out
- Check your range to the areas you need to hit before you build.
- Think about supply routes. How will you and your team get supplies into the FOB radius?
- Spread out inside the build radius. It makes counter-fire less effective and delays the enemy finding your radio.
- A defensive FOB works too. The more friendlies around you, the harder you are to dislodge.
The mortars
Section titled “The mortars”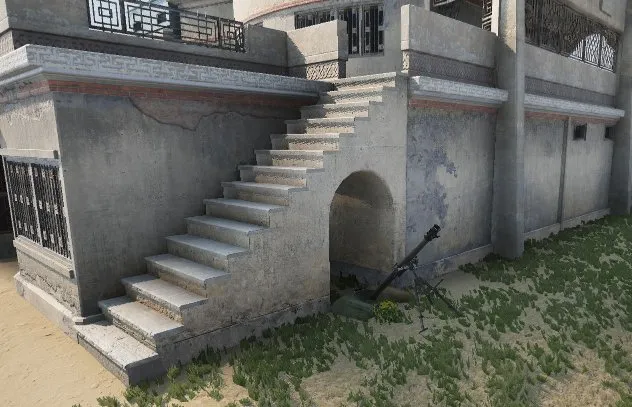
✓Do
- Use walls and fences to protect yourself from direct fire
- Check nothing blocks your firing arc: trees, buildings and so on
✕Don't
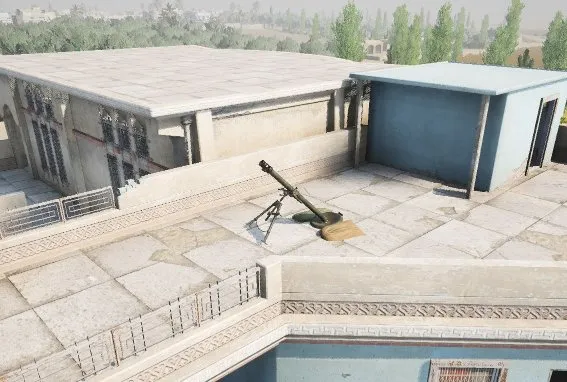
- Build on roofs. Height doesn’t help, and it makes you easy to hit with grenade launchers, vehicles or enemy mortars
- Build too close to a friendly HAB. Counter-fire aimed at you will hit both
Relocating
Section titled “Relocating”Under pressure, you may need to take the FOB down yourself. It’s better than losing 20 tickets to a radio that bleeds out.
It’s a judgement call: how sure are you that you (or your team) can defend it? Was it one enemy, or a whole squad?
Rallies and HABs
Section titled “Rallies and HABs”- Rallies are an early-warning system. When an enemy comes within 30 m of your rally, it burns. If you’re close, you’ll hear the difference: the static stops.
- Place the rally near your mortars or your radio to find out about raiders early.
- Replace it as soon as possible after dealing with the enemy.
- On a dedicated mortar FOB, build a HAB for faster respawns and more security. You may still be able to spawn on it if your rally burns, but a large attack can still proxy it.
Logistics
Section titled “Logistics”Construction
| Item | Cost |
|---|---|
| HAB | 500 |
| Ammo box | 100 |
| Mortar (usually 2 per FOB) | 300 each |
| Insurgent mortar / hellcannon | 200 each |
| Repair station | 500 + repairs |
| Minimum total | 1200 |
Ammo per reload (3 rounds)
| Round | Cost |
|---|---|
| HE | 40 |
| Smoke | 25 |
| Hellcannon | 150 |
A reload always costs the same, even if you only fired one round.
Next: Mortars: firingUsing the HUD, calculators, round types and picking targets.